Other than the 2 quilts I'd done for the twins born last year, I hadn't had opportunity to get many of the baby quilts finished. A dear woman I serve with monthly is about to become a great-grandmother and that event (probably happening this week!) was a catalyst to not only quickly create a very special quilt for the soon-to-be-born great-grandson, but also to finish up some of the other projects I've had hanging around.
I do have one more large special project that isn't quite finished yet and that may get it's own post... or not... it's emotionally special for me and I may just keep that private.
First is the newest quilt - for Elijah Robert - who will (Lord willing) arrive safely later this week.
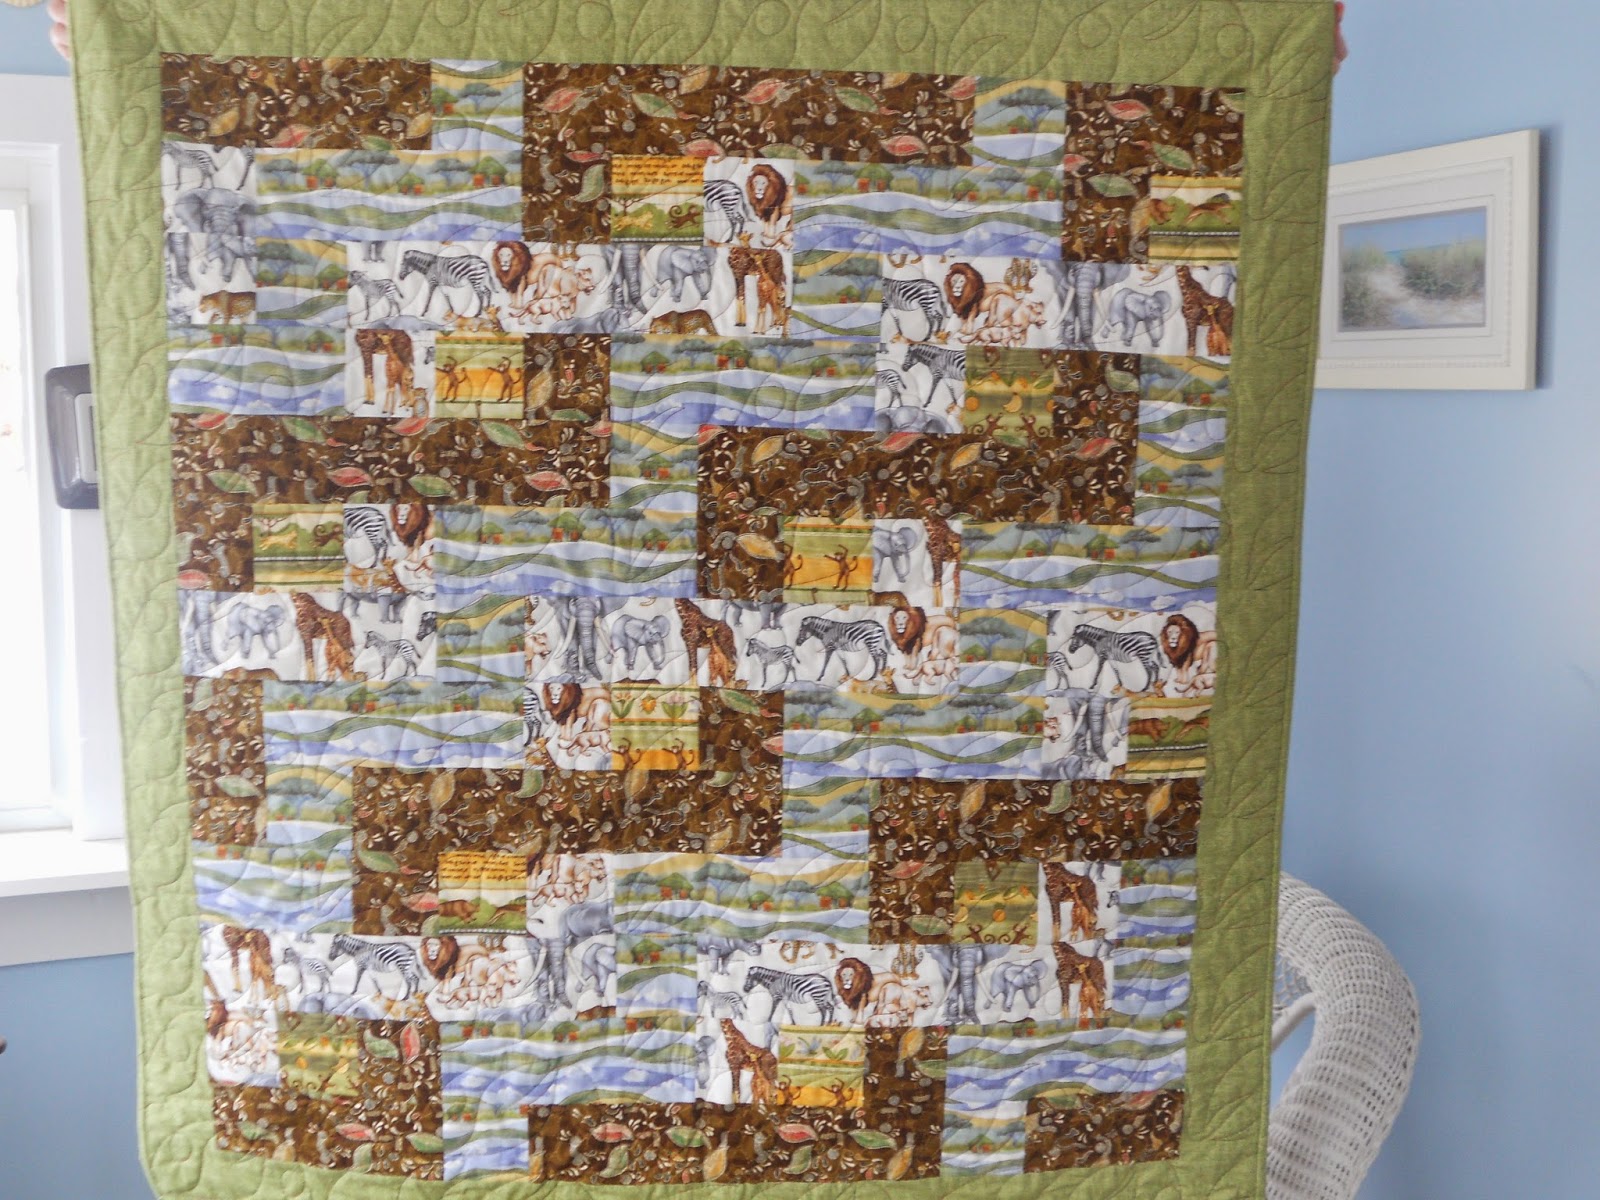

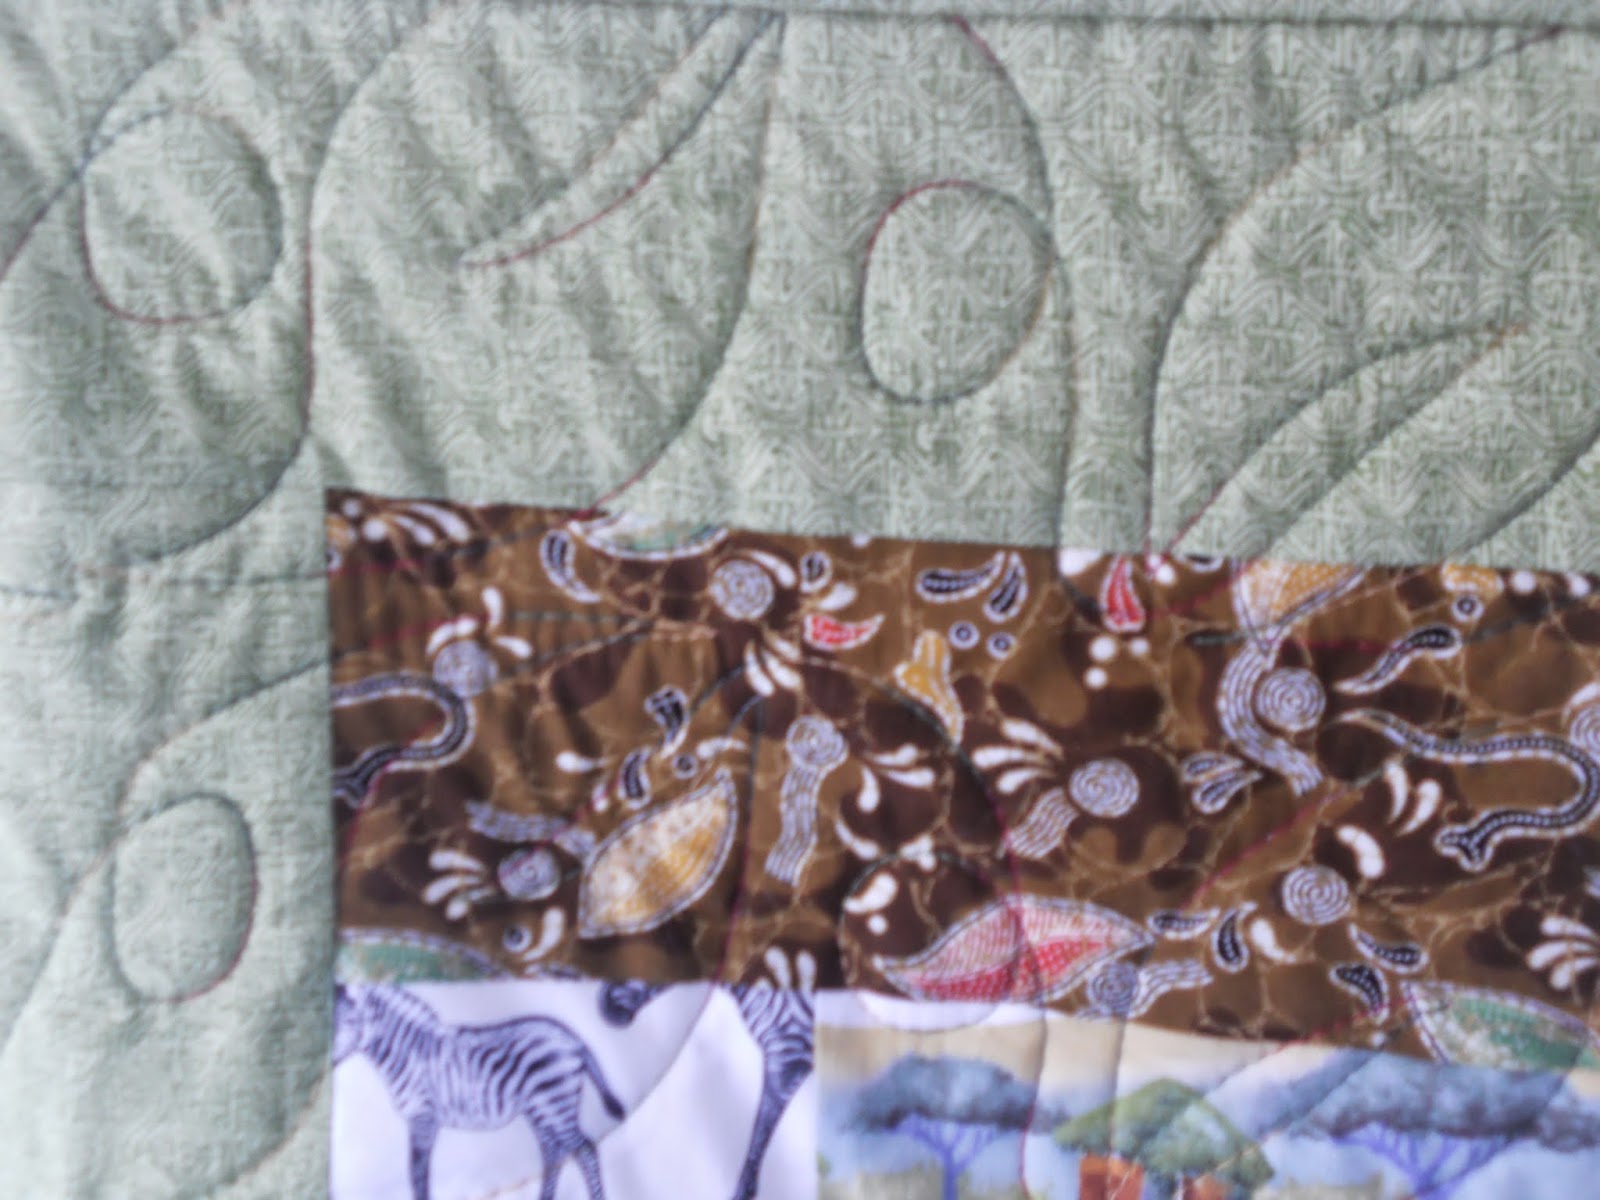

The quilt is an enlarged version of a block I had seen a long while back and I transformed it into a full size quilt pattern - sort of an intertwining ribbon design. It is made with 100% cotton quilting fabrics for the top in animal/Africa/safari prints that I just love. The back is an all-over animal print flannel that should be snuggly for a small boy. It is quilted edge-to-edge on my New Joy Frame with the Janome 1600P, using KingTut "Pharoah's Treasure" variegated thread in shades of green/gold/burgundy in an all-over leaf pattern. The top is machine pieced and the finish binding is done by hand.
Next are 4 quilts that haven't been made for anyone specific as far as I know, but have been prayed over for whatever precious child God will allow them to be given to in the future.
First up are two 'girlie' quilts. Both were made when the quilt ministry was in the capable hands of others and I just had opportunity to work on and finish them.


This one was machine pieced and sent out to be quilted by another generous lady with a giving heart. It is all cotton, pieced front and back with an all-over large meander design.

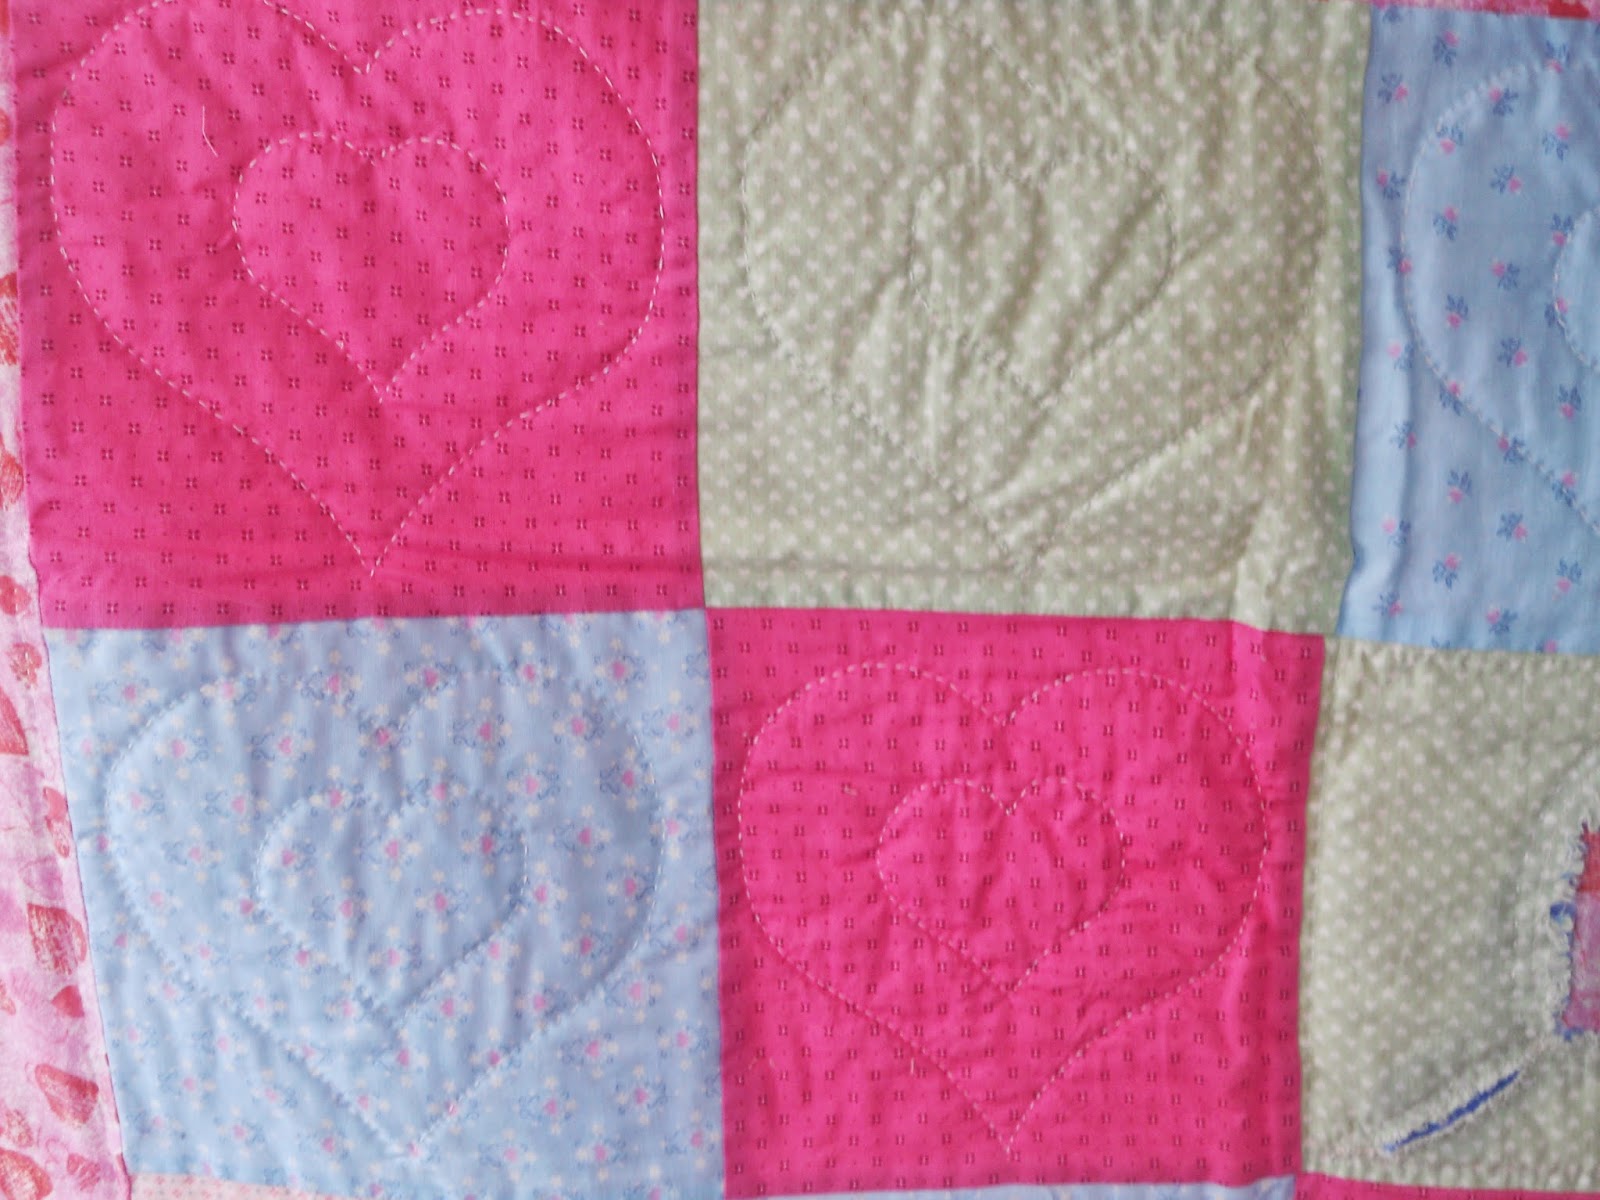
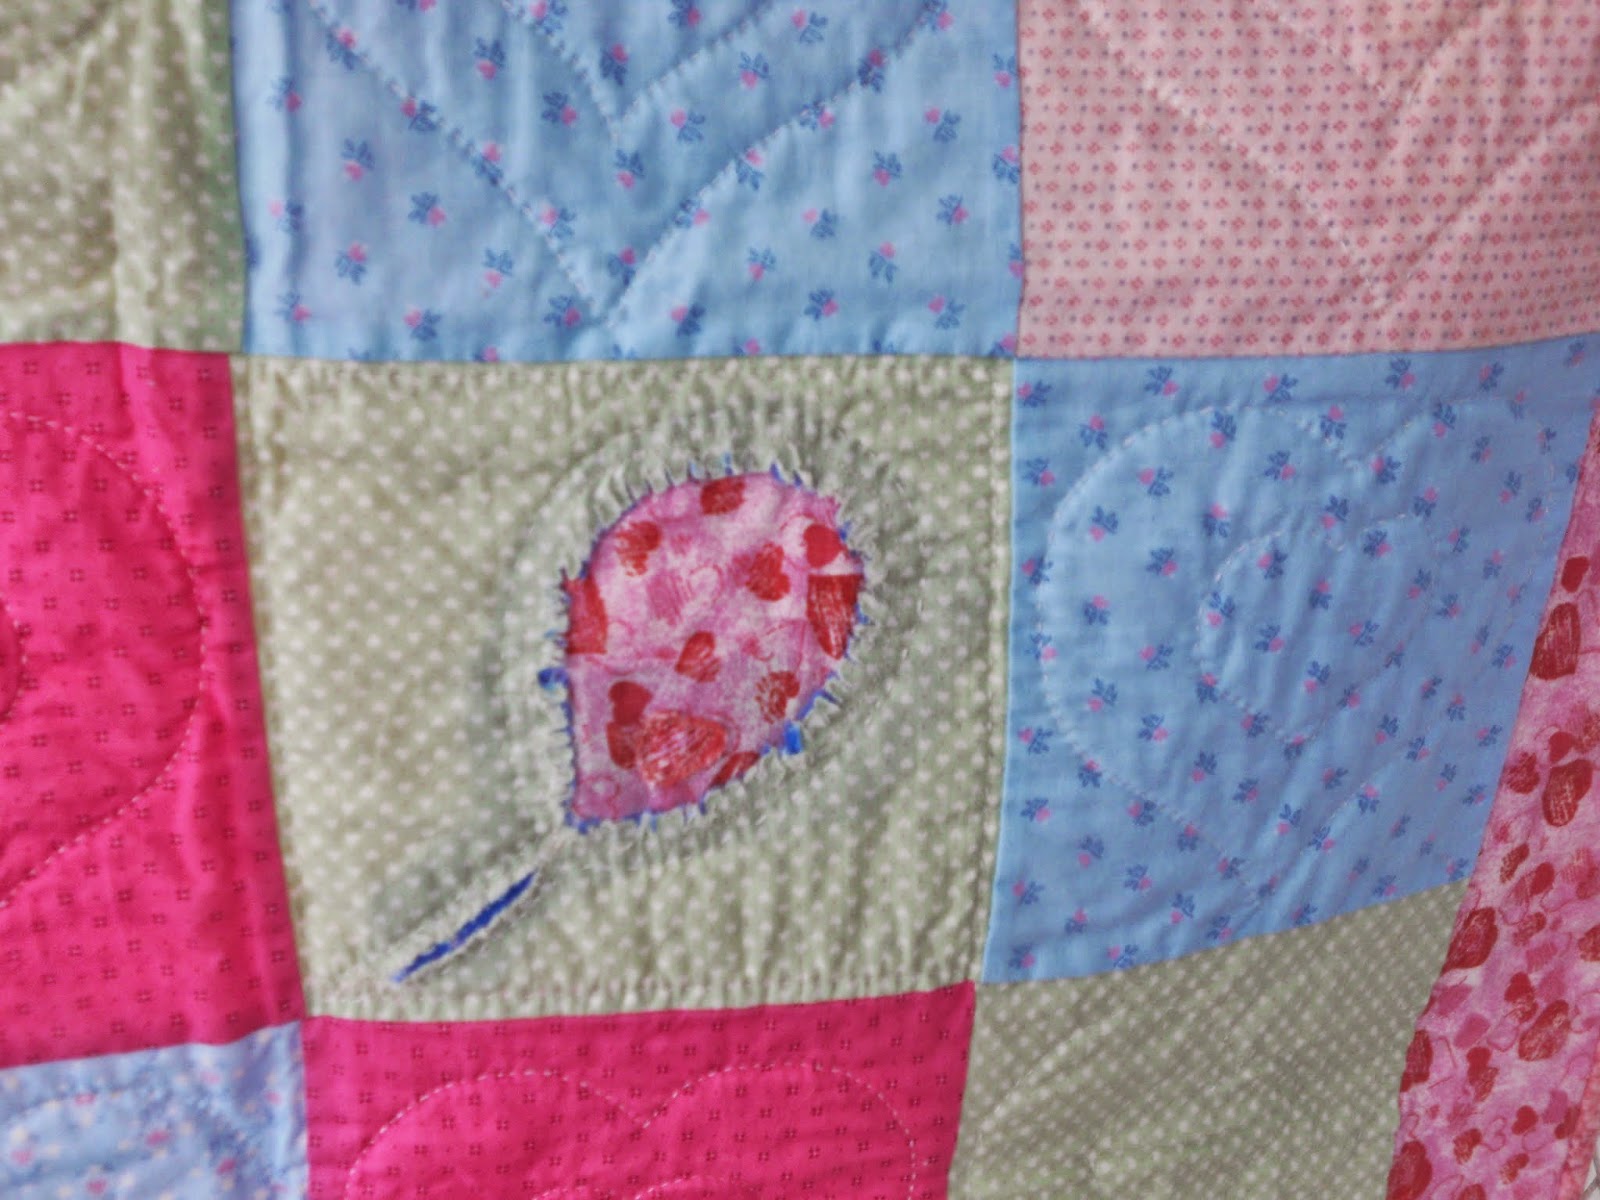


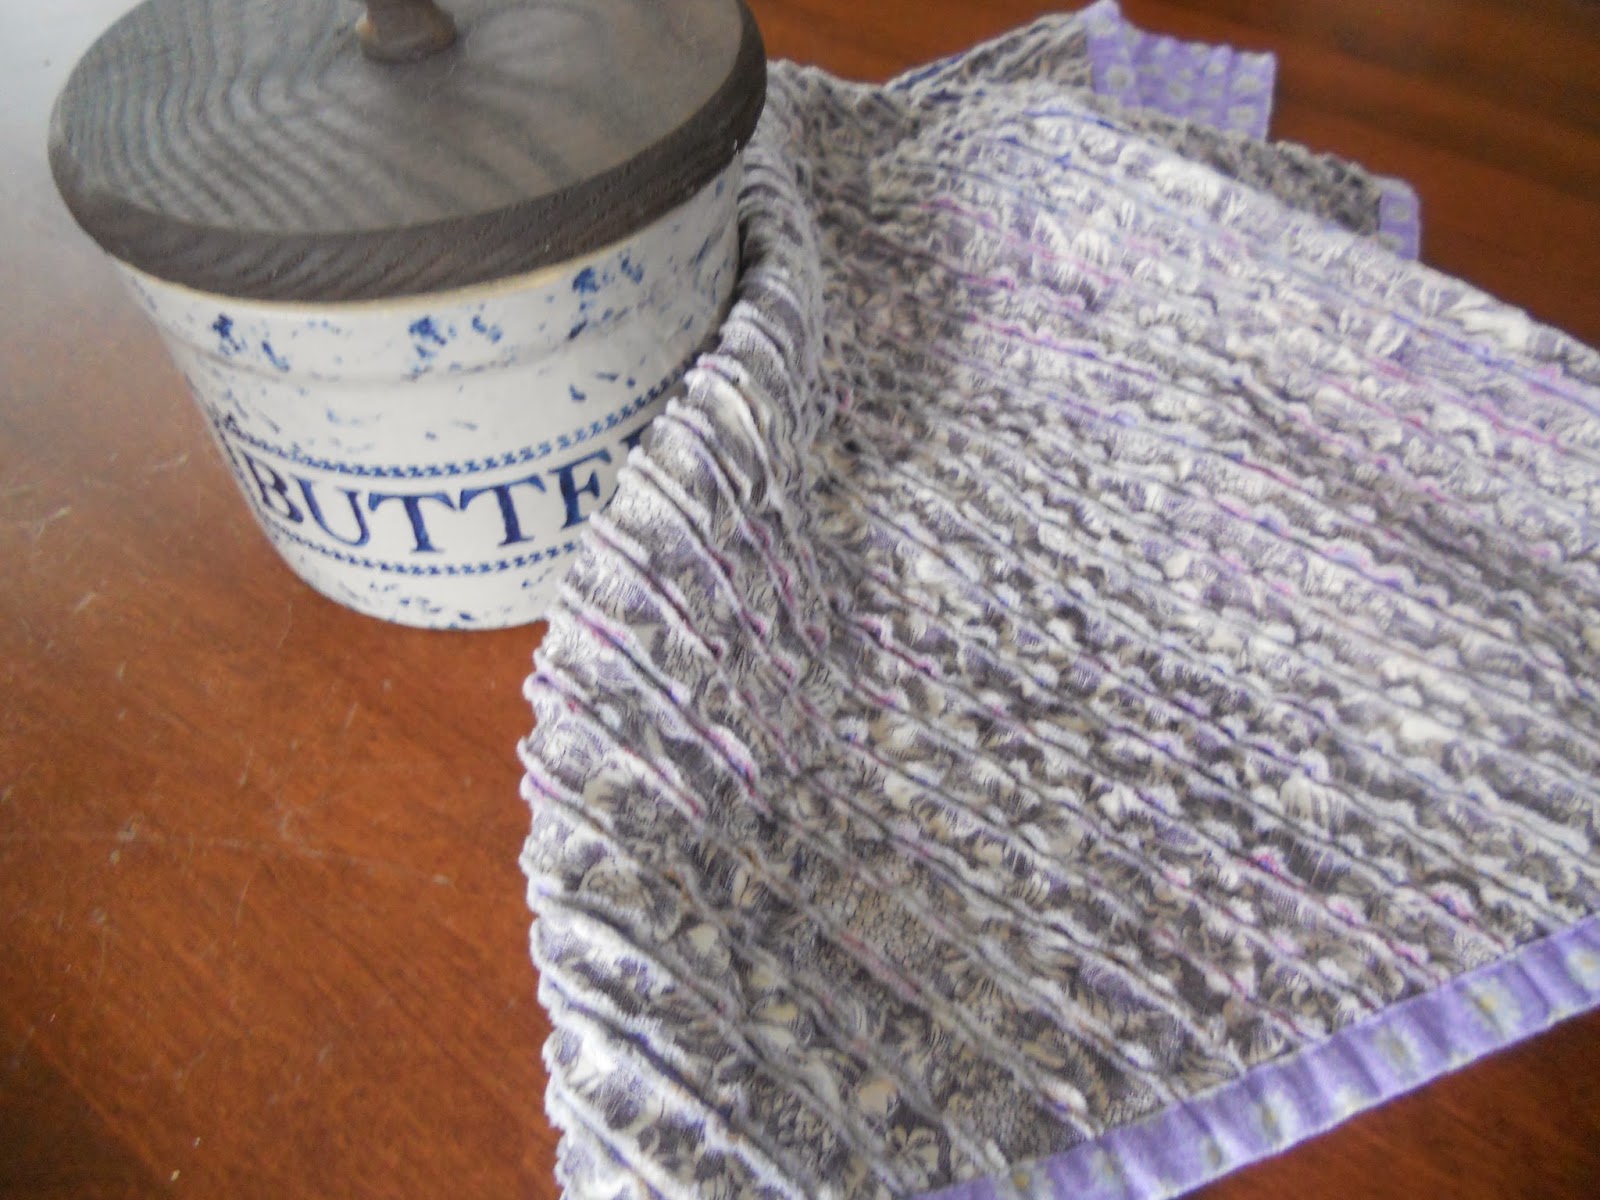
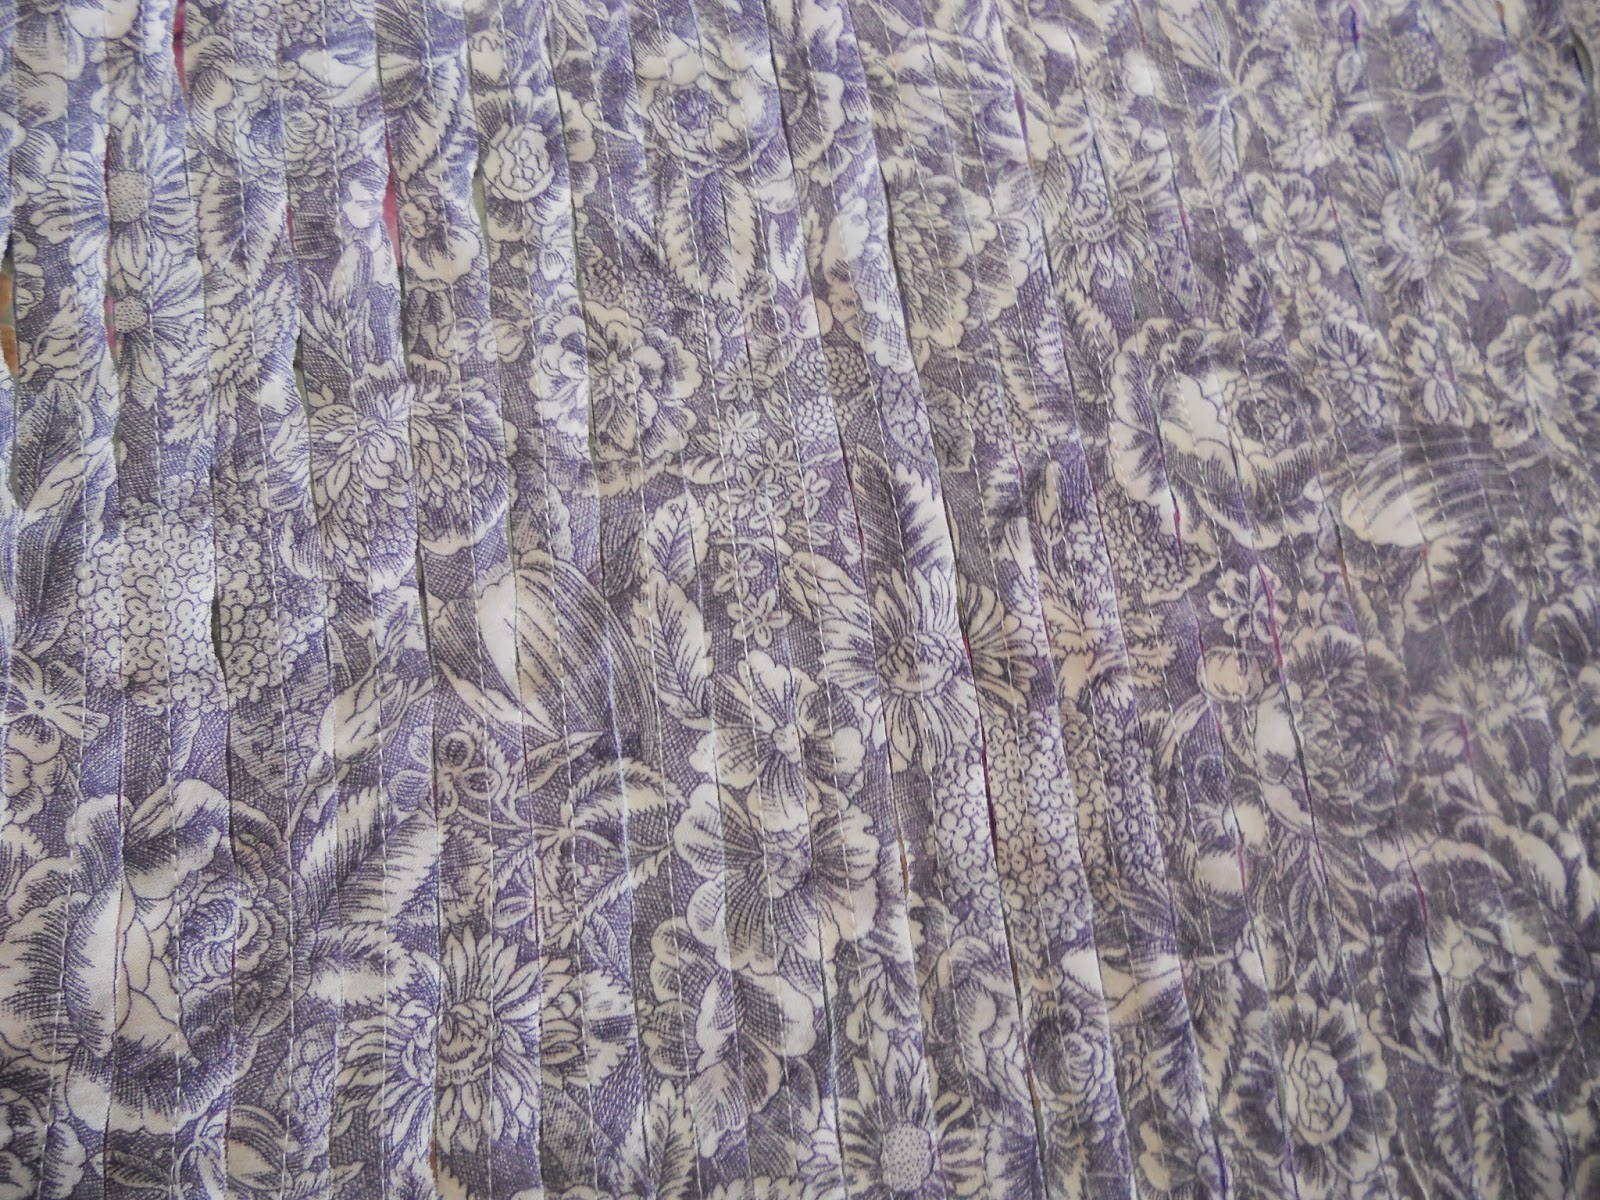
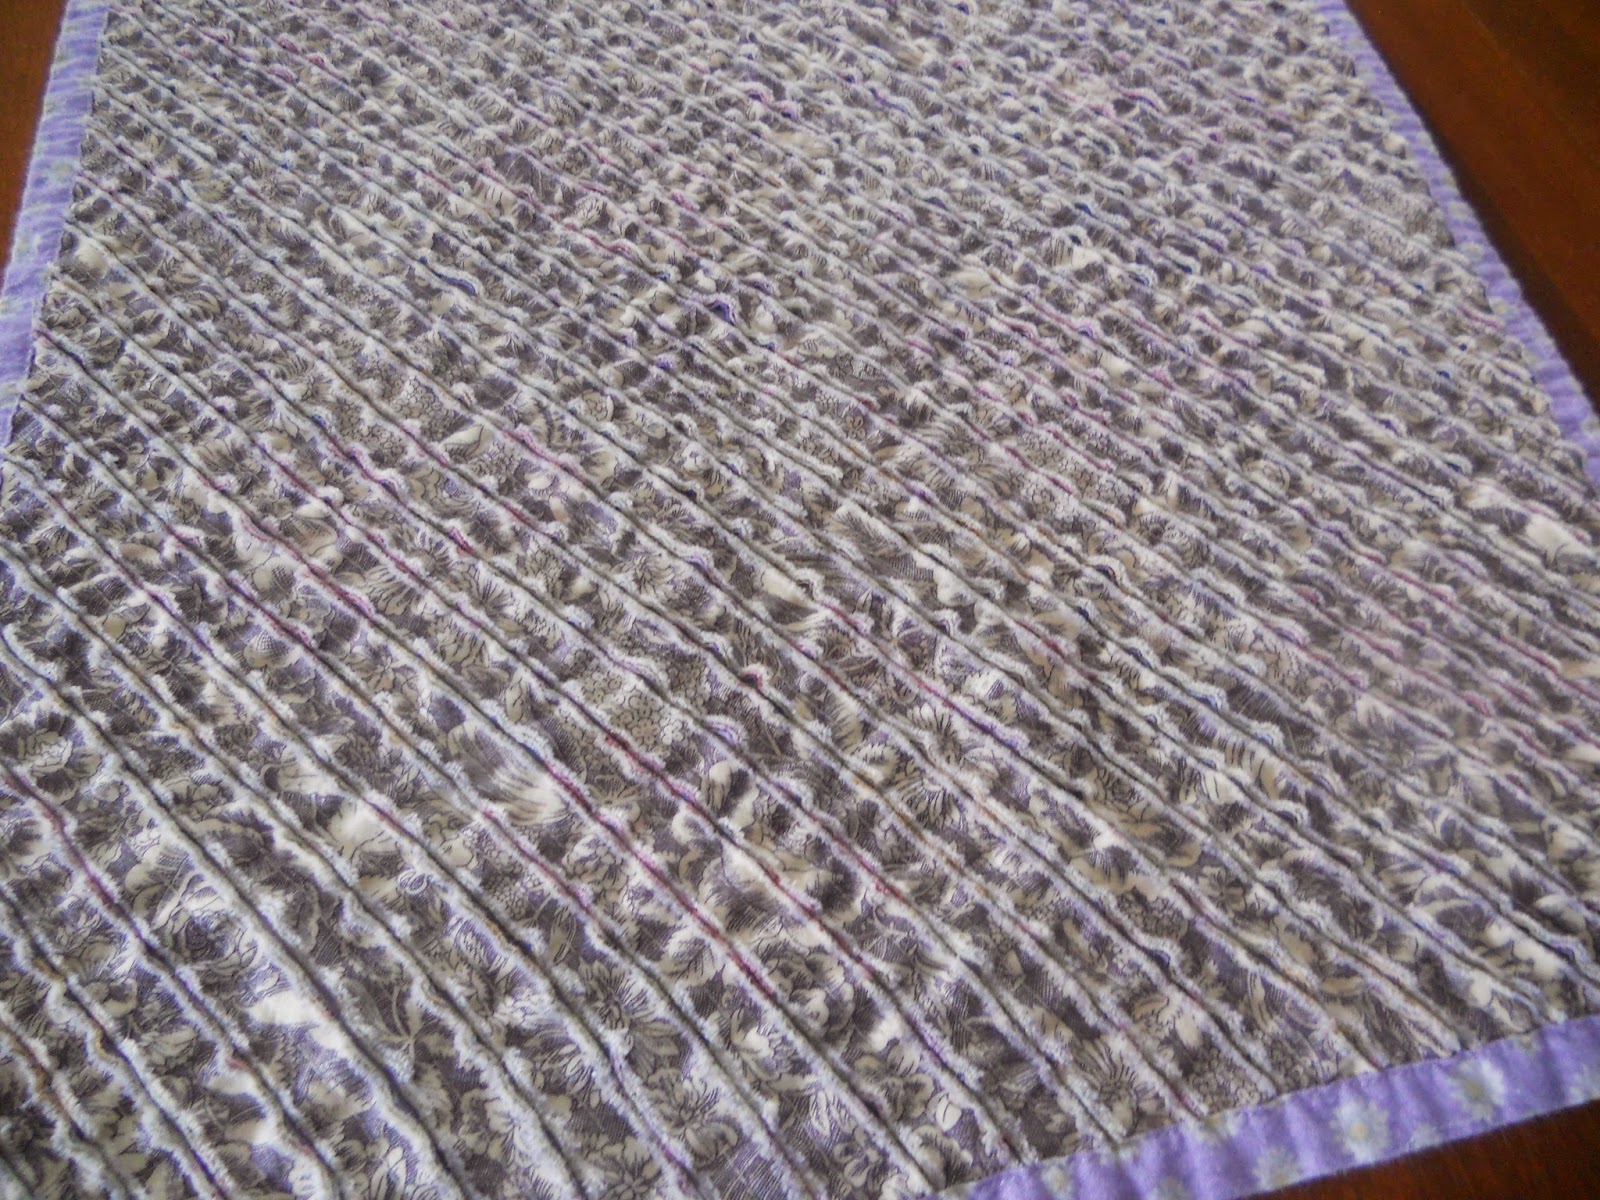
Here we have a simple design, machine pieced in sweet small print cottons and then hand quilted in double heart designs and some outline work on the chenilled blocks.
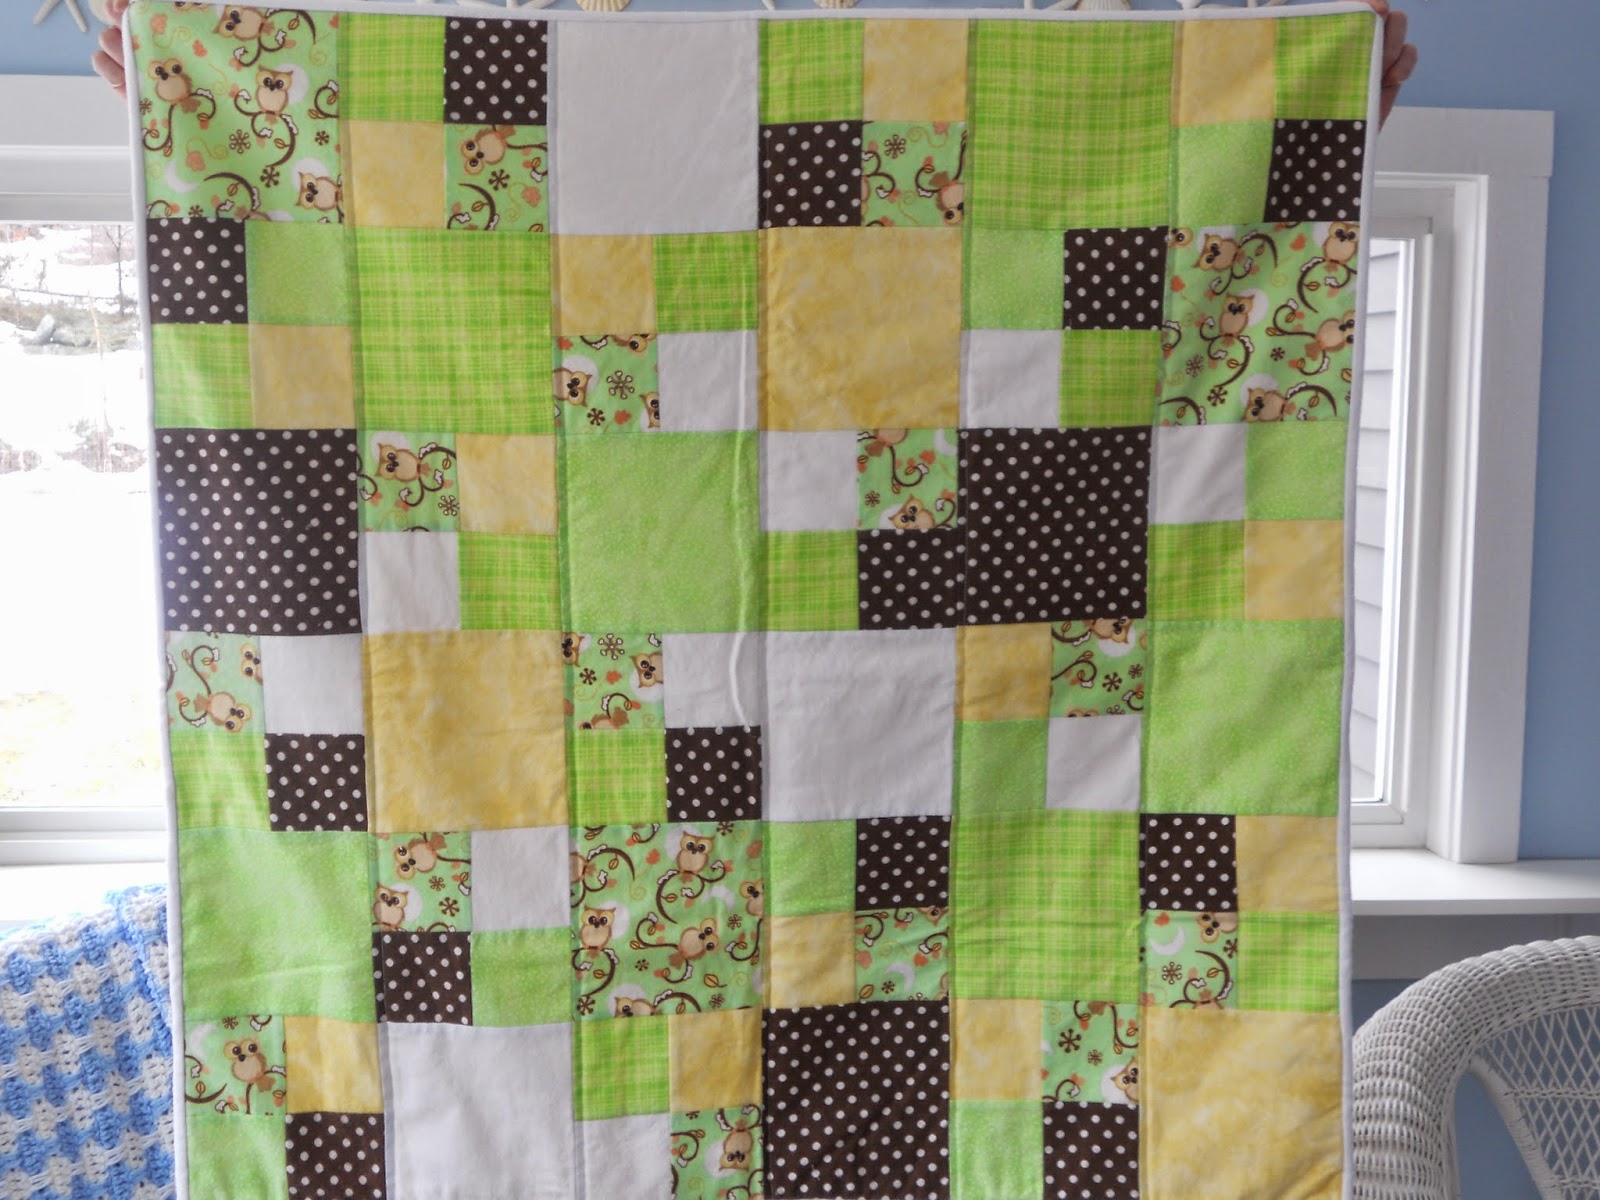
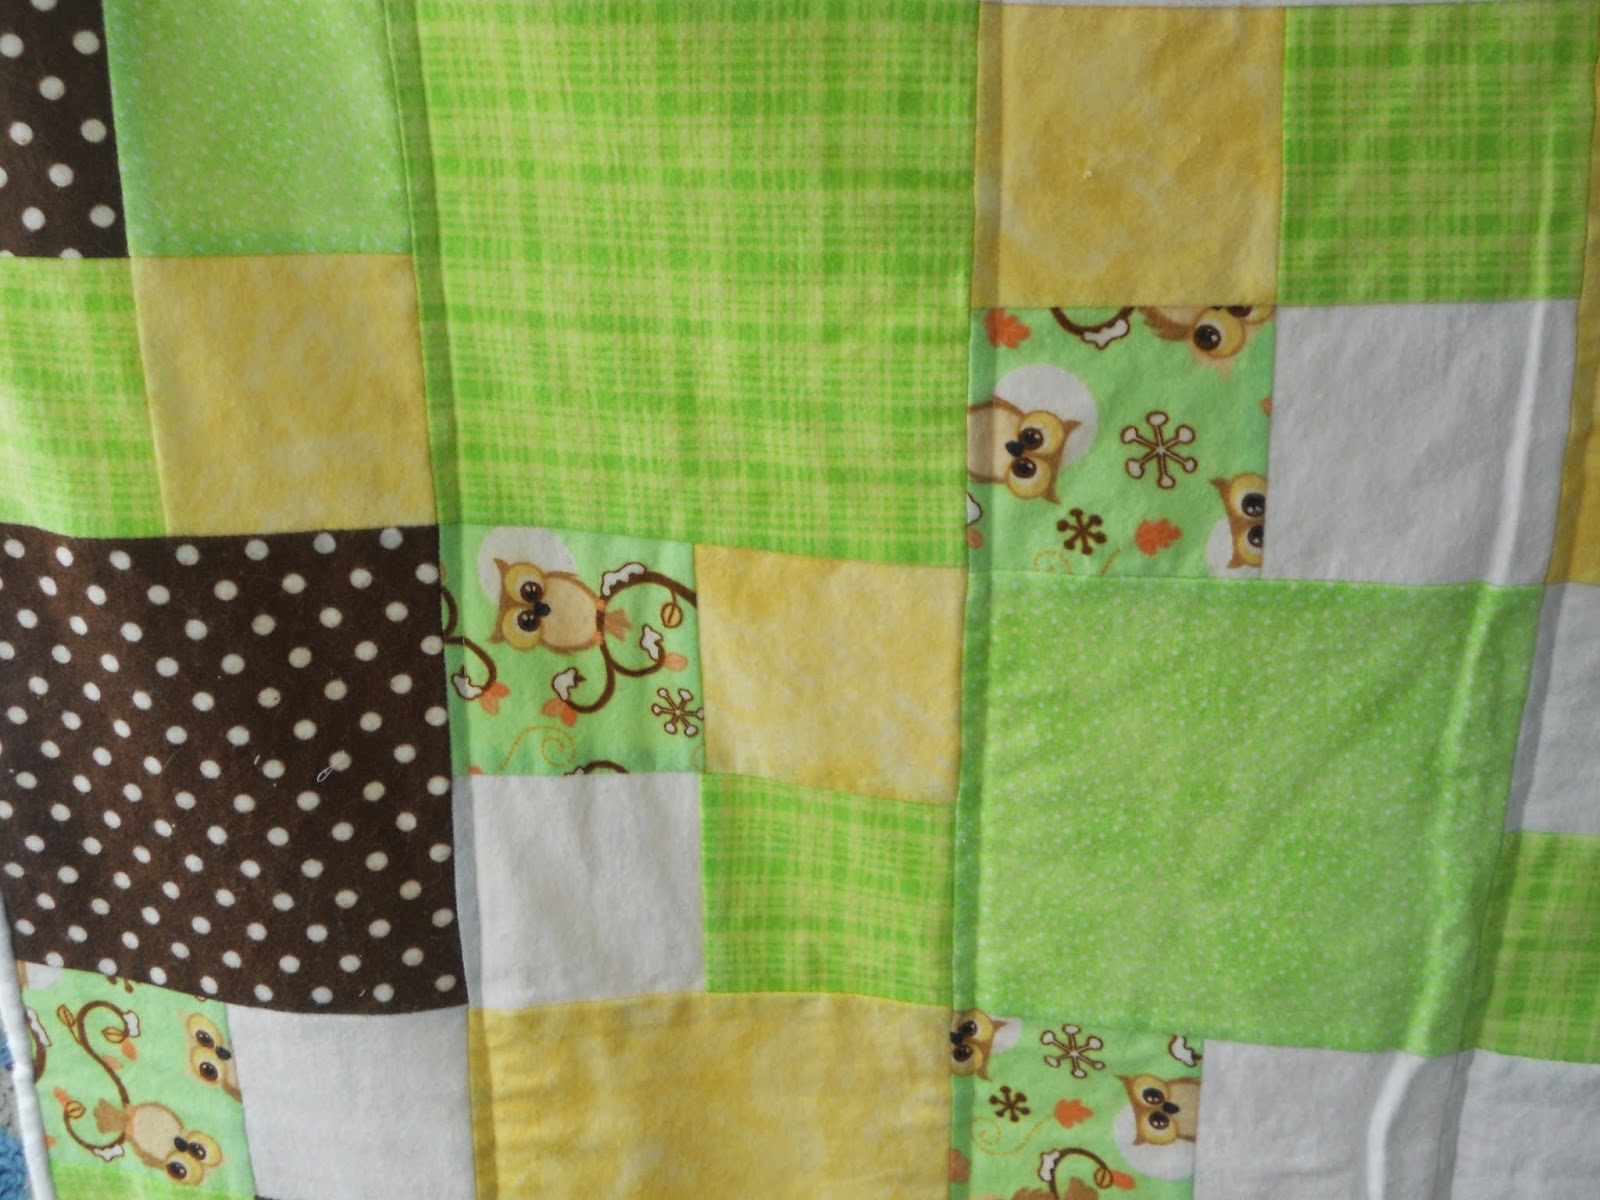

The colors in these photos are very off - the closest one is the last one. This is a full flannel quilt - both front and back. Simple 4 patch blocks are alternated with solid squares and machine pieced and quilted in a broad line grid. The colors are soft 'baby' greens, yellow and big eyed owls. So cute!


Special thanks to my very helpful daughter for helping me with all the photos out in the chilly sun-porch.
May God richly bless each little one who will be receiving these gifts of prayer.
Blessings,